

There’s a moment that happens in a lot of Sydney homes. A homeowner pulls back the corner of an old carpet out of curiosity, and there it is: a beautiful timber floor hiding underneath. Suddenly, the renovation plans change entirely.
If this sounds familiar, you’re not alone. Across Sydney’s inner suburbs and coastal neighbourhoods, thousands of homes have original hardwood or pine floors sitting dormant beneath years’ worth of carpet. Getting to them is entirely achievable as a DIY project, and once the carpet is gone, a professional floor sanding and polishing service can bring those boards back to life in a way that’s genuinely stunning.
Here’s a thorough guide to removing old carpet from timber floors, and what to expect once the real work begins.
Why Bother? The Case for Uncovering Your Timber Floors
Before getting into the how, it’s worth a moment on the why.
Carpet has a lifespan. Even well-maintained carpet holds onto dust mites, pet dander, allergens, and general grime in ways that are hard to fully clean. For families with allergies or young kids spending time on the floor, that’s a genuine health consideration.
Timber floors, on the other hand, are hard-wearing, easy to clean, and they add real value to a property. In Sydney’s competitive real estate market, polished timber floors are consistently listed among the top features buyers respond to. Homes in areas like Bondi, Vaucluse, Clovelly, and Coogee regularly showcase original floorboards as a selling point, and floor sanding specialists like Abacus Flooring know firsthand how transformative a quality sand and polish can be on a period home.
Beyond the practical benefits, there’s something genuinely satisfying about restoring what was already there rather than covering it up again.
What You'll Need
Removing carpet is a labour-intensive job but it doesn’t require specialist equipment. Before starting, gather the following:
- Heavy-duty pliers
- A pry bar or flat-head screwdriver
- A floor scraper or stiff putty knife
- Heavy-duty garbage bags
- Work gloves and knee pads
- A dust mask (non-negotiable)
- A vacuum and broom for the final clean-up
Step-by-Step: How to Remove Old Carpet from Timber Floors
1. Empty the room completely
Clear out all furniture and remove any door thresholds, kickboards, or skirting board sections that are sitting on top of the carpet rather than against the wall. This saves time later and protects those elements from damage during the pull-up.
2. Cut the carpet into workable strips
Starting in a corner, use a utility knife to score and cut the carpet into strips roughly 600mm to 1 metre wide. Working in strips makes the job far more manageable than trying to wrestle an entire room’s worth of carpet out in one go. It also makes disposal easier, since most council green waste or hard rubbish services won’t accept a single enormous rolled-up carpet.
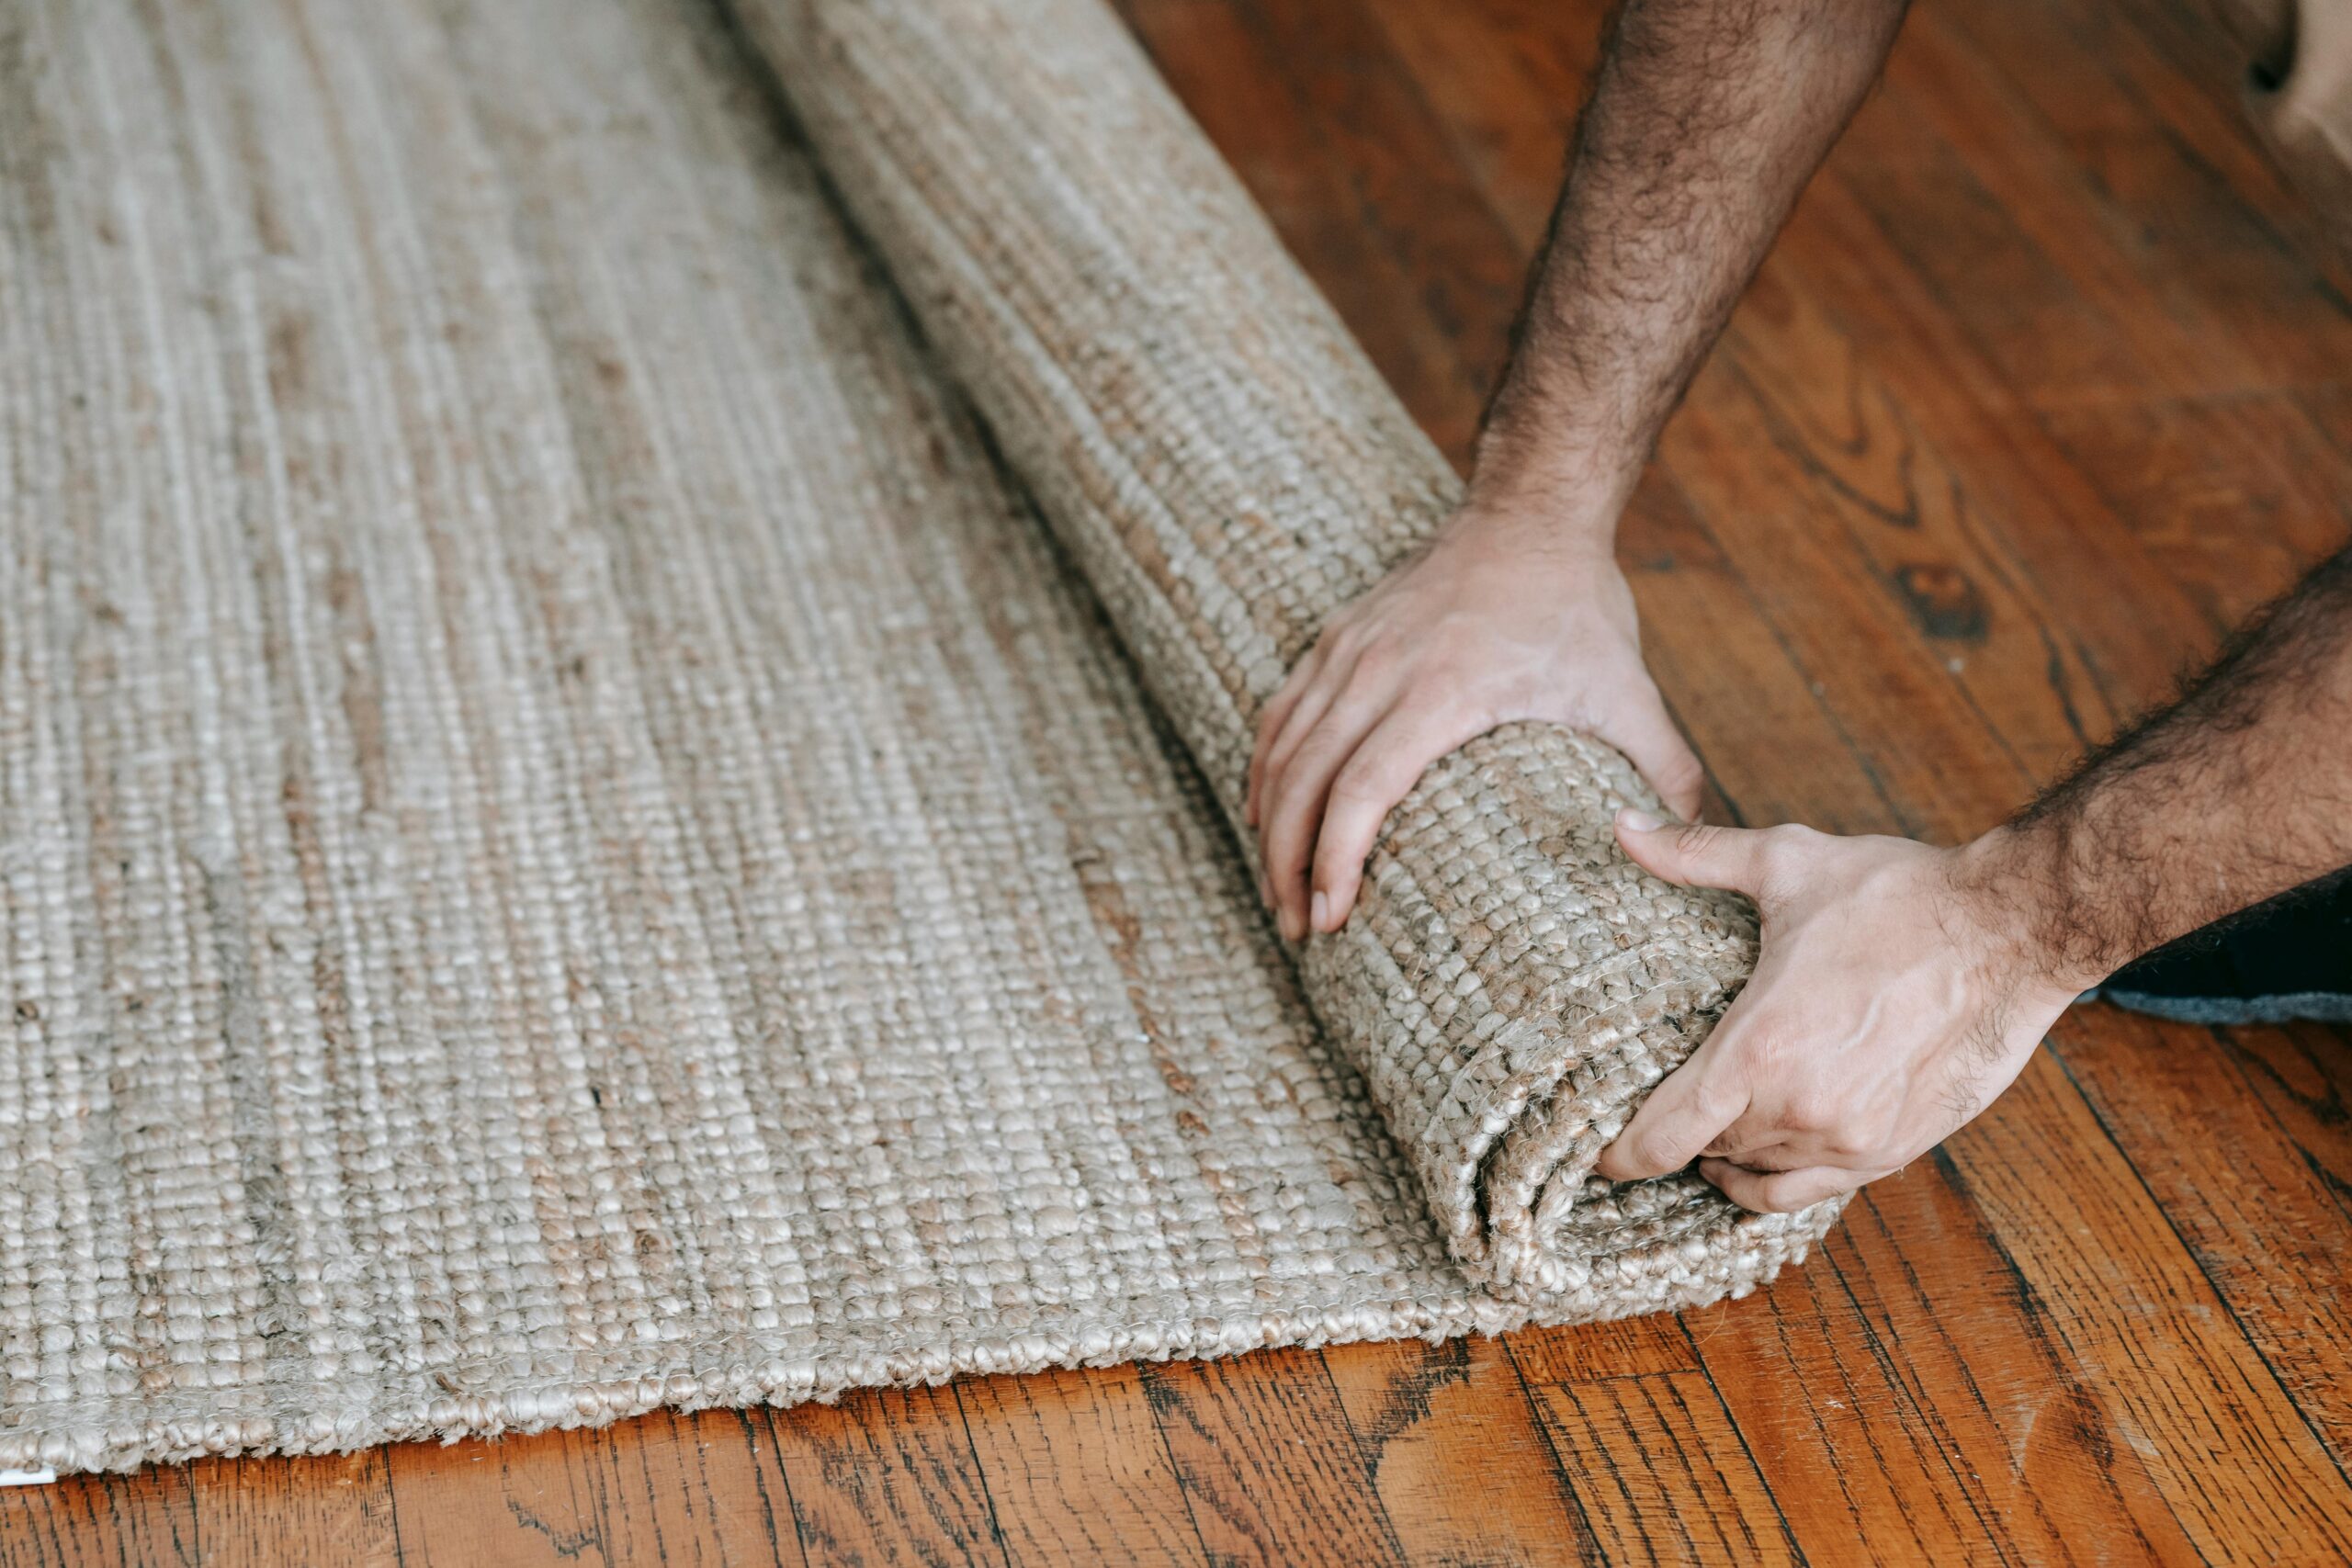
3. Pull up the carpet
Use pliers to grip a corner of the first strip and peel it back, rolling it as you go. Carpet in most Australian homes is held in place only by gripper rods around the perimeter of the room, so the bulk of the carpet across the middle of the floor lifts away without much resistance.
4. Remove the underlay
Underneath the carpet sits a layer of foam or rubber underlay. This comes up in much the same way as the carpet itself. Old underlay, particularly anything from homes built before the 1980s, can be quite dusty and crumbly. Keep the mask on through this stage.
5. Lever up the gripper rods
Gripper rods, also known as smooth edge or flat edge, are the thin timber or metal strips around the room’s perimeter that are used to hold the carpet taut. They have a lot of small spikes that stick up to grip the carpet, and are fixed to the subfloor with small nails or screws. Using the pry bar to remove them, work slowly and carefully, to avoid damaging the timber floor boards. Rushing this step is one of the more common ways people accidentally gouge or chip the surface of the floor.
6. Remove all remaining tacks and staples
This is the step most people underestimate, and the one that matters most if you’re planning to sand and polish afterwards.
Tacks, staples, and the odd random nail need to come out completely. Go across the entire floor methodically, using pliers or a scraper to extract each one. Any metal left sitting proud of the surface will tear through sanding belts and can leave scratches or gouges that are difficult to fix. A professional floor sanding team will check for this before starting work, but the more thorough the prep, the better the result.
7. Scrape up any adhesive residue
Some carpet installations, particularly in older Sydney homes, used adhesive in addition to gripper rods. If there’s sticky residue left on the boards, a floor scraper may help to remove it. If it doesn’t, consult your timber floor sanding specialist prior to attempting to remove it with cleaning products like turps, bleach or detergents, as some products may cause a reaction with the finish when it comes time to sand and polish.
Some of the older homes have a tar like substance on the boards and this can be a thin or thick layer, around the perimeter or across the entire room. This is commonly referred to as black jack. Removal of this usually requires a heavy grit sandpaper, which your professional floor sander can do.
8. Vacuum and sweep thoroughly
Once everything is up and out, give the floor a thorough vacuum and sweep. You want a clean, clear surface for inspection before deciding on next steps.
Important Things to Check Before You Start
Asbestos in older homes
This one is worth taking seriously. In Sydney homes built before the mid-1980s, some carpet underlays and floor adhesives may contain asbestos fibres. If the underlay has a grey, fibrous appearance or the home dates from that era, have the material tested before disturbing it. Testing kits are available at most hardware stores, or you can arrange a professional inspection. SafeWork NSW has clear guidelines on handling asbestos materials in residential settings.
What condition are the boards in?
Once the carpet is up, take a good look at the timber underneath. Some discolouration around the perimeter is completely normal where the gripper rods were. Old nail holes, surface scratches, and colour variation from sun exposure are all typical and, importantly, all fixable through the sanding process.
What to watch for is more serious structural damage: boards that have lifted, significant warping, rot, or large gaps between boards. These may need attention before sanding can proceed. An experienced flooring professional can assess what’s there and advise on the best approach.
Squeaky boards
Carpet does a good job of muffling sounds that were already there. Don’t be surprised if pulling it back reveals boards that squeak underfoot. Before polishing, those boards should be secured properly, either by re-nailing or countersinking screws through the face of the board. Leaving squeaky boards unaddressed before sanding means living with the noise permanently once the finish goes down.
What Happens After the Carpet Comes Up
Removing the carpet is just the starting point. The real transformation happens through professional floor sanding and polishing, and this is where it pays to bring in people who know what they’re doing.
At Abacus Flooring, the team works with Sydney homeowners across the eastern suburbs, inner west, and beyond to assess, prepare, and finish timber floors properly. Whether the boards are a century-old hardwood in a Paddington terrace or a pine floor in a 1970s brick veneer in the Hills District, the process of sanding back years of wear and applying a quality finish makes an enormous difference to how the floor looks and how long it lasts.
The sanding process removes the old surface layer to reveal fresh, clean timber underneath. From there, the homeowner can choose from a range of finish options: matte, satin, semi-gloss, or gloss polyurethane; hardwax oil for a more natural feel; or a traditional wax finish for older character homes. Each finish has its own look, maintenance requirements, and durability profile, and Abacus Flooring can walk you through the right choice for your household.
How Long Does the Whole Process Take?
For a typical Sydney home with one or two rooms, carpet removal is generally a full day’s work when done carefully. Add another half day if there are a lot of staples or adhesive residue to deal with.
Professional floor sanding and polishing for an average-sized room takes one to two days, depending on the condition of the boards and the finish being applied. Most water-based polyurethane finishes are dry enough to walk on within 24 hours, with full cure time of around one to two weeks.
Planning the project over a long weekend is a realistic goal for most homeowners tackling a single room or a small home.
Ready to See What's Underneath?
For Sydney homeowners sitting above a timber floor they haven’t seen in years, the process of getting back to it is more straightforward than it might seem. The carpet removal is well within DIY reach, and once that’s done, a professional sand and polish takes it the rest of the way.
If you’re in Sydney’s eastern suburbs or surrounding areas and want an honest assessment of what your floors could look like, book a free quote with the team. Abacus Flooring has helped homeowners across the city uncover and restore timber floors that, in many cases, turned out to be the best feature in the house.