

Before you dive into mopping up or cranking up the fans, pause to figure out how bad the situation really is. Water damage isn’t one-size-fits-all—a quick spill from a knocked-over glass might just need a towel, but a slow leak that’s been soaking into your floors for hours could spell bigger trouble, like warping or mold.
Getting a clear picture of the damage helps you decide if you can tackle it yourself with some elbow grease or if it’s time to call in the pros before things get worse. The difference in severity also affects your timeline and tools.
Surface-level water is usually manageable if you act fast, but if the moisture has sunk deep into the wood or subfloor, you’re racing against permanent damage. Taking a few minutes to assess saves you from wasting effort on half-measures—or worse, thinking it’s fixed when mold’s quietly growing underneath.
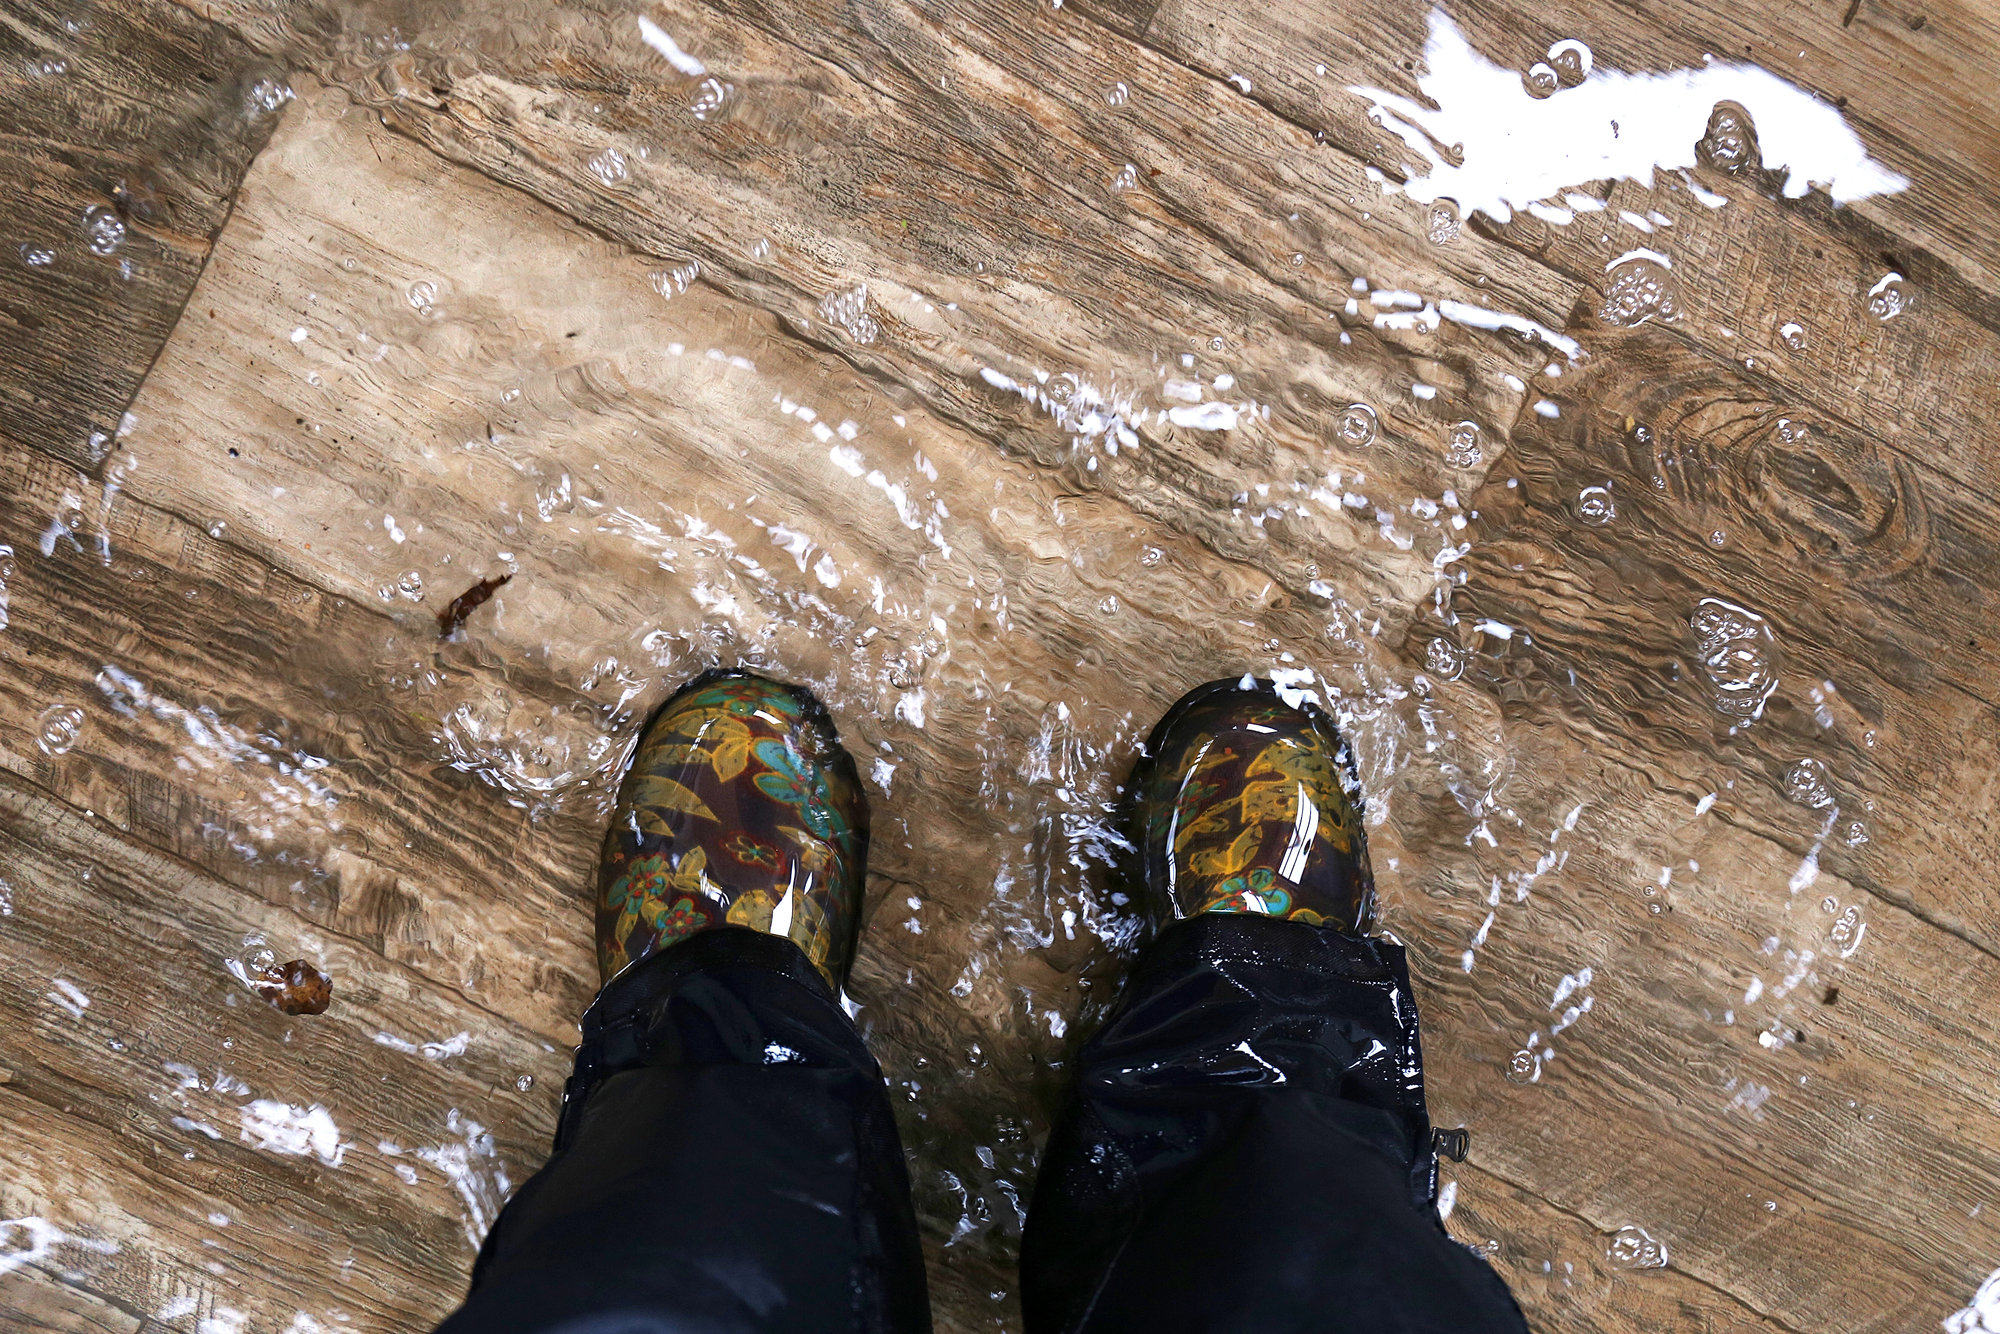
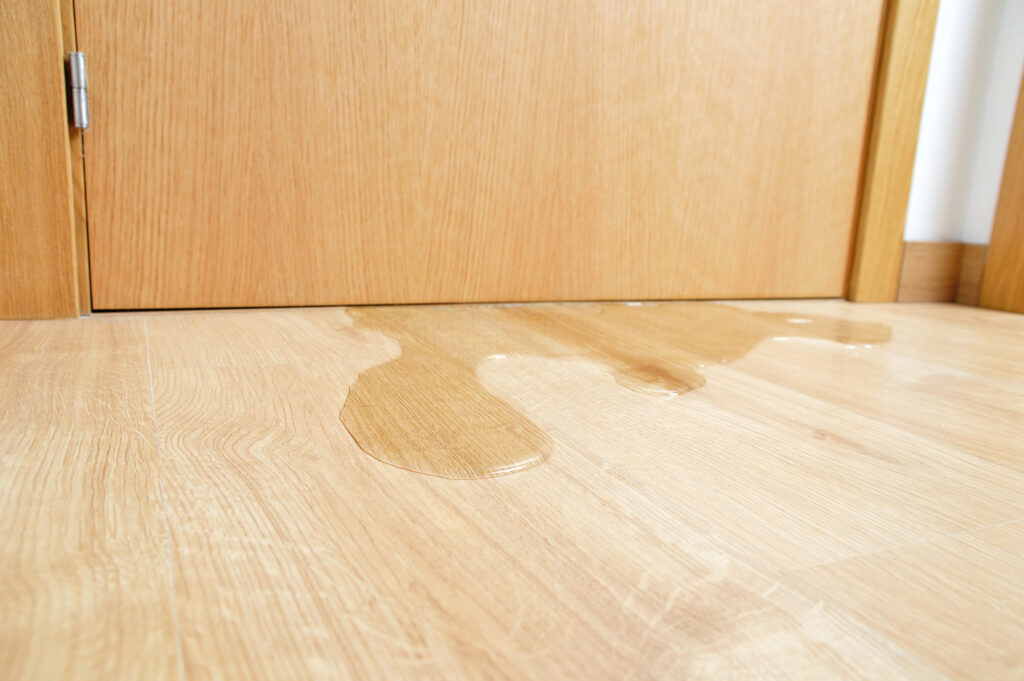
Start by eyeing the floor for clues. If you spot standing water—those obvious puddles—you’re in luck, because quick action can keep the damage minimal; just soak it up before it seeps in. But if the wood’s gone dark, feels swollen, or squishes under your feet, the water’s already penetrated deeper, and you’ll need more than a towel to fix it.
Next, check for shape changes. Cupping happens when the edges of planks curl upward—it’s a sign of moisture underneath, but drying might reverse it if you’re fast.
Buckling, where whole boards lift off the subfloor, is a red alert; it means serious saturation, and saving the floor might mean replacing parts.
Time’s a big factor too: hardwoods can handle water for up to 36 hours before permanent harm kicks in, while softer woods or laminates might start warping in as little as 12–24 hours. If it’s recent and mild, dry it out pronto; if boards are popping up, the subfloor’s likely wet, and pros might be your best bet.
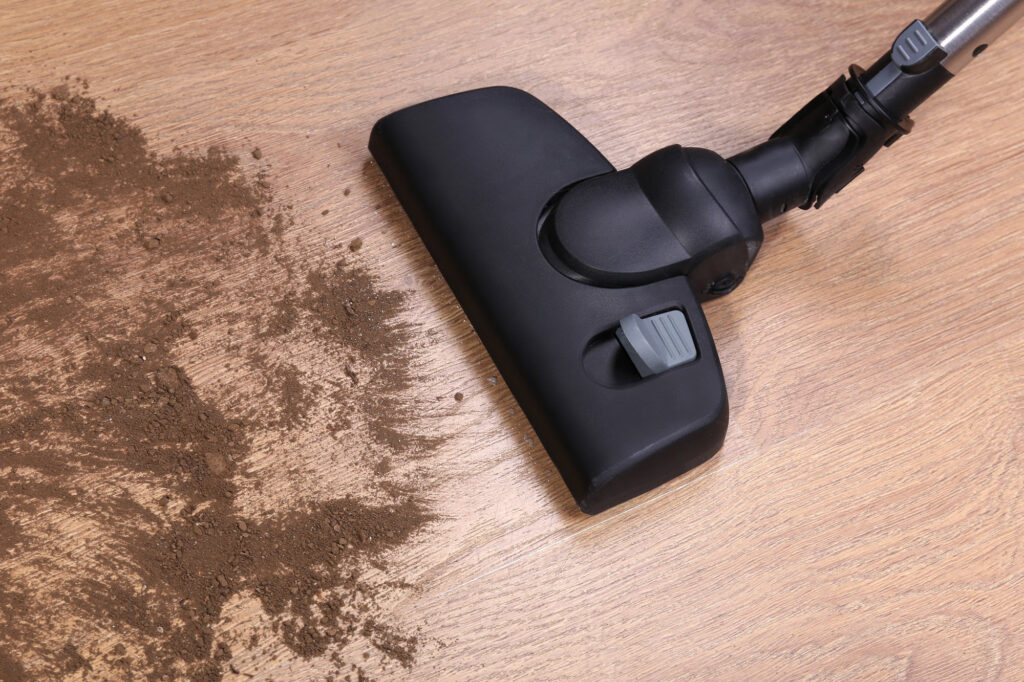
The first mission is to get rid of any water that’s still hanging around before it sinks deeper and turns a small problem into a nightmare. Every drop you remove now is one less that can fuel mold or warp your precious floors. Speed is your friend here—think of it like putting out a fire before it spreads.
This step sets the stage for drying, so don’t skimp on effort. Whether it’s a puddle from a spill or a sneaky leak you just found, acting fast keeps the damage contained. The longer water sits, the more it soaks into the grain and creeps under the boards, making your job harder down the line.
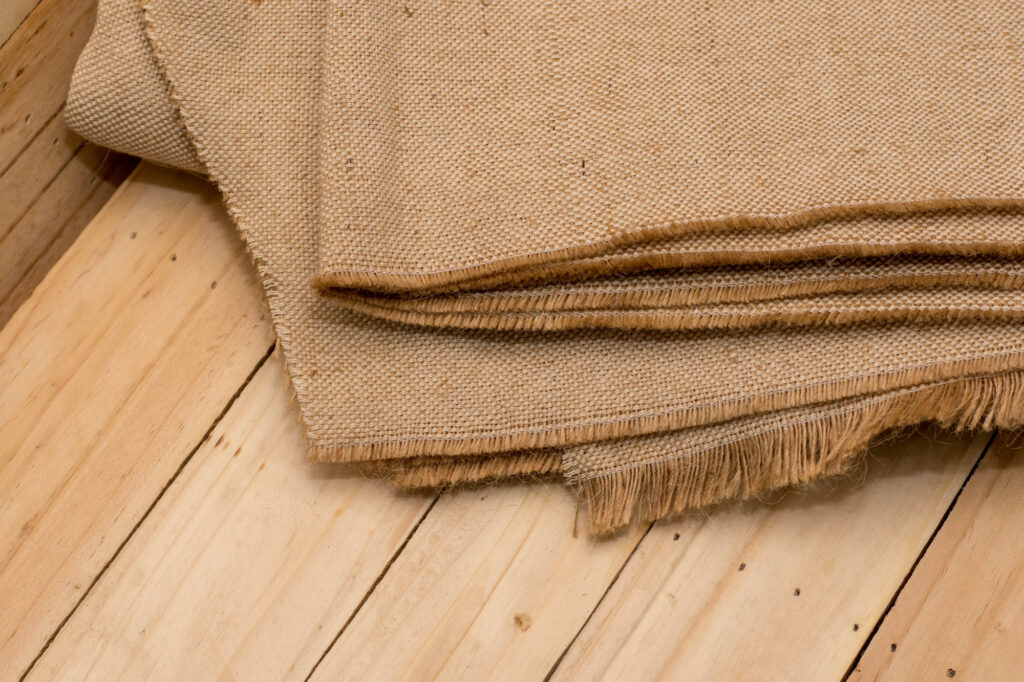
Grab some thick, absorbent towels and get to work soaking up standing water—press down hard and swap them out as they get drenched. For cracks, seams, or gaps where water’s hiding, a wet vacuum (shop vac) is your MVP; it sucks out moisture that towels can’t reach, and renting one is cheap if you don’t own it.
If there’s a big mess, a mop can help, but go light—wring it out well so you’re not adding more water to the mix. Here’s a pro move: start at the edges of the wet zone and work your way in. This keeps the water from spreading outward like a sneaky invader.
Keep going until no more comes up easily. It’s grunt work, but it’s the foundation for saving your floor. Done right, you’ll have a fighting chance to dry things out before the real damage settles in.
Now that the surface water’s gone, it’s time to tackle the moisture that’s lurking inside the wood and beneath it. This is where you stop damage in its tracks—left unchecked, that dampness can twist your boards or turn your subfloor into a mold factory. The right drying setup can make the difference between a full recovery and a costly redo.
Patience is key here, because rushing or cutting corners could leave hidden wet spots to fester. You’re not just drying the top layer; you’re pulling water out from deep within, so consistency matters more than speed. With a few household tools and some know-how, you can give your floors a solid shot at bouncing back.
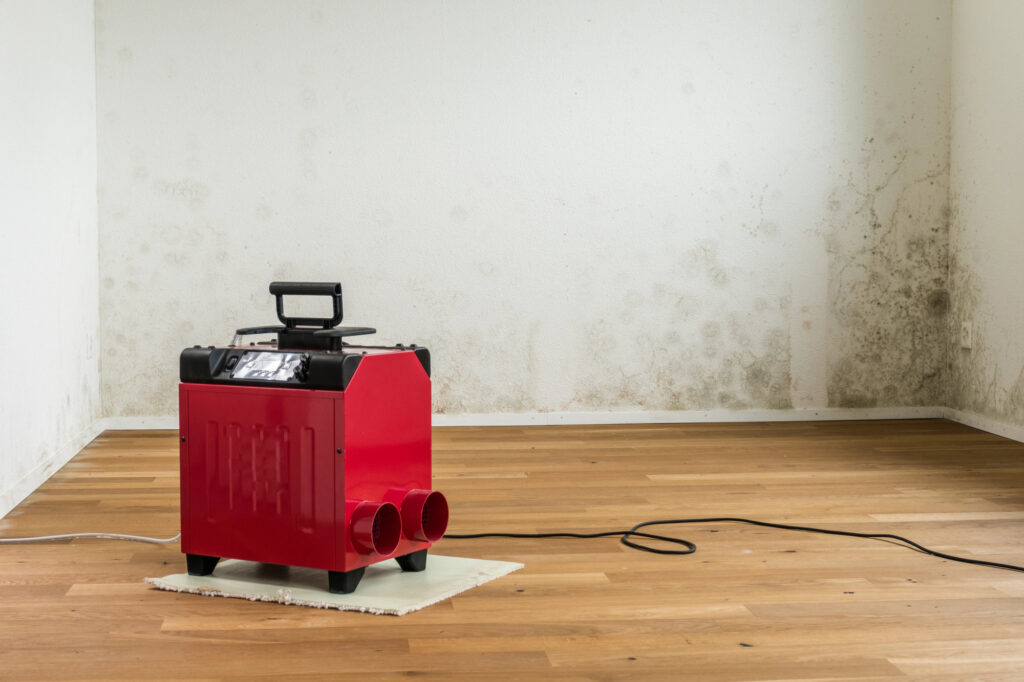
Set up a dehumidifier in the room—run it nonstop and empty the water tray often to keep it humming. A beefy industrial model dries faster, but a standard home unit works fine for smaller jobs; just give it time.
Pair it with fans aimed straight at the floor—oscillating ones are great for spreading airflow evenly—and watch the evaporation kick into gear.
For stubborn moisture, try these tricks:
- Warm Iron Method: Lay a damp towel over a small wet spot and run a warm (not hot) iron over it to draw moisture up.
- Hairdryer on Low: Works for small areas but avoid overheating the wood.
- Plastic Sheeting Tactic: Tent the wet area with plastic and direct dry air underneath using a dehumidifier or fan—this traps the airflow where it’s needed most.
If your floor still feels damp after days of fans and dehumidifiers, don’t give up—there are next-level tricks to pull out that sneaky moisture. Sometimes water gets trapped in places you can’t reach with basic tools, like under the planks or in the subfloor, and that’s when you need to get creative or a little bold.
These methods take more effort and maybe some tools you don’t have lying around, but they can save you from a full tear-out. They’re not for every situation—use them when you’ve hit a wall with standard drying and the floor’s still not cooperating. Weigh the work against the payoff, because this is where DIY starts flirting with pro territory:
- Drill Small Vent Holes: Tiny pinprick-sized holes in the wettest planks can help trapped moisture escape. Aim fans over them to speed up drying, then seal them later with wood filler.
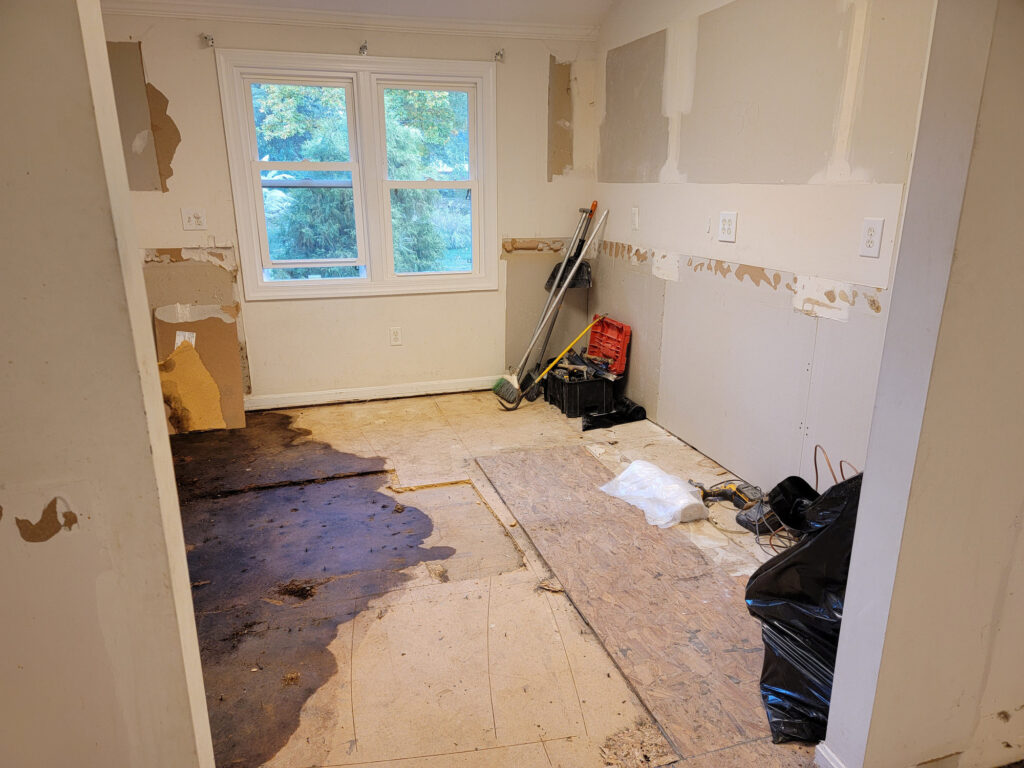
- Lift Planks Carefully: If the subfloor is soaked, remove a few boards to dry the area underneath with fans or a dehumidifier. If the boards remain intact, you can reinstall them; if they’re too damaged, replacement may be necessary.
- Rent Professional Equipment: Industrial dehumidifiers and drying tents can cost around $1,000 for a few days, but that’s often cheaper than a full floor replacement.
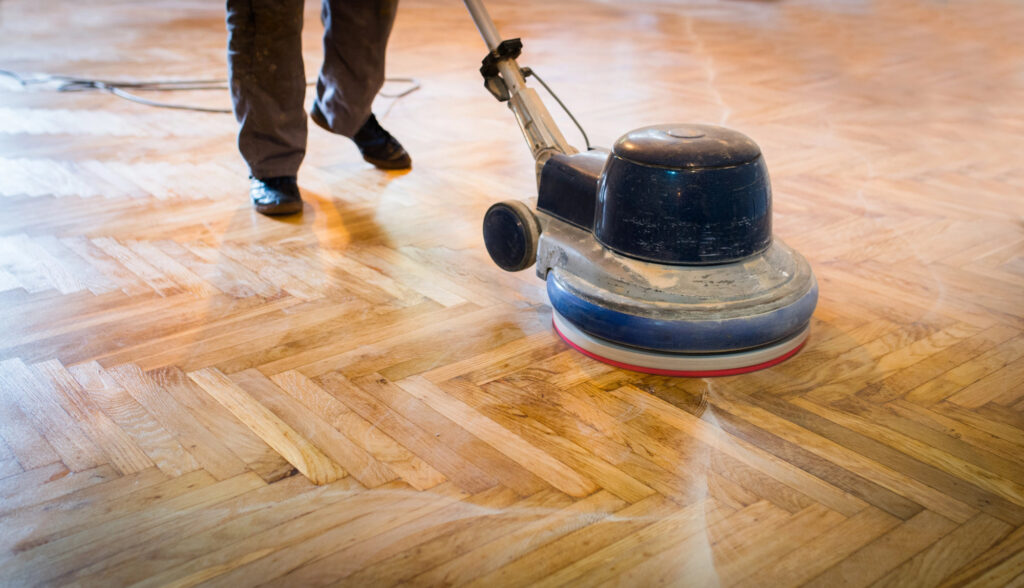
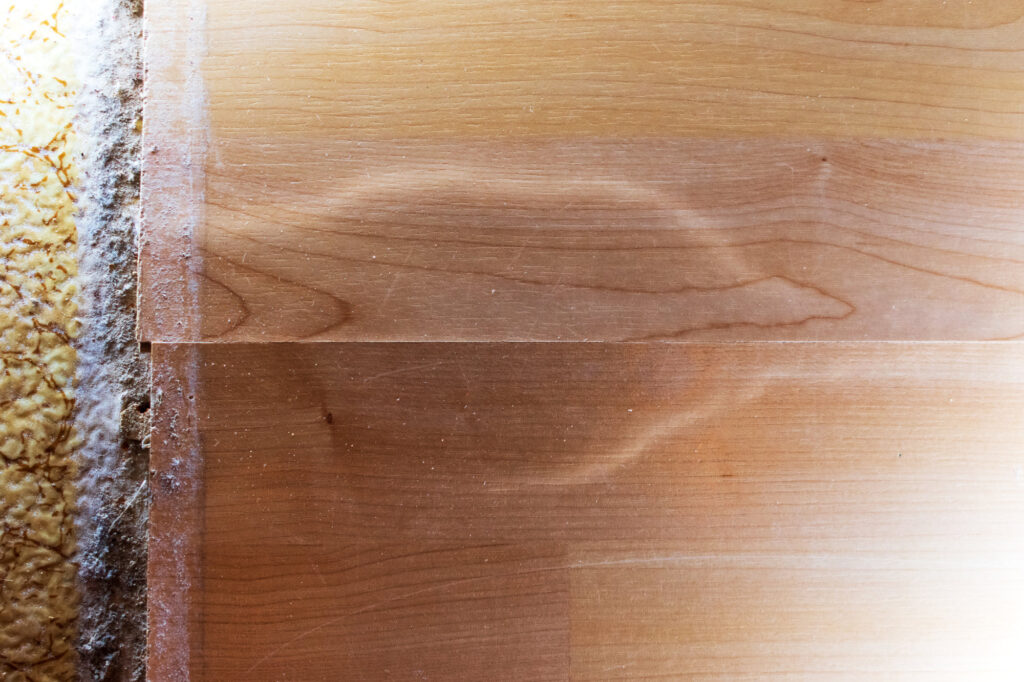
Sometimes, despite your best efforts, the damage outsmarts your DIY floor sanding game. If the floor stays damp after a solid week of drying, or you catch a whiff of musty funk, it’s a sign the problem’s deeper than you can handle solo. Mold and rot don’t mess around, and they can wreck more than just your floors if ignored.
Severe cupping, buckling, or soggy subfloors mean the water’s won this round. Pros have the heavy-duty gear and know-how to tackle what’s beyond your reach, so spotting these clues early can save you from bigger headaches down the road.
The pros typically use moisture meters to sniff out dampness you can’t see, pinpointing exactly where the trouble hides. Then they crank up industrial drying systems like mega-fans and souped-up dehumidifiers to draw water out fast and effectively. If sections are too far gone, they’ll swap them out with precision, keeping the rest intact.
For minor leaks, you can often win with quick moves, but big floods or slow leaks that sat too long usually need that expert touch. Don’t beat yourself up if it comes to this—better to hand it off than let hidden damage spiral out of control. Flooring specialists like Abacus Flooring can step in with pro-grade restoration to rescue your hardwoods.